In today’s world, where sustainability and personal expression go hand in hand, transforming thrifted picture frames into unique wall art has emerged as a creative and eco-friendly DIY project. Not only does this endeavor allow you to showcase your personality and artistic flair, but it also champions the concept of upcycling—turning old or discarded items into something beautiful and useful. This guide will explore various methods to revitalizing thrifted frames, providing step-by-step instructions, material lists, and insightful tips while embracing budget-friendly and eco-friendly principles.
Why Upcycle Thrifted Frames?
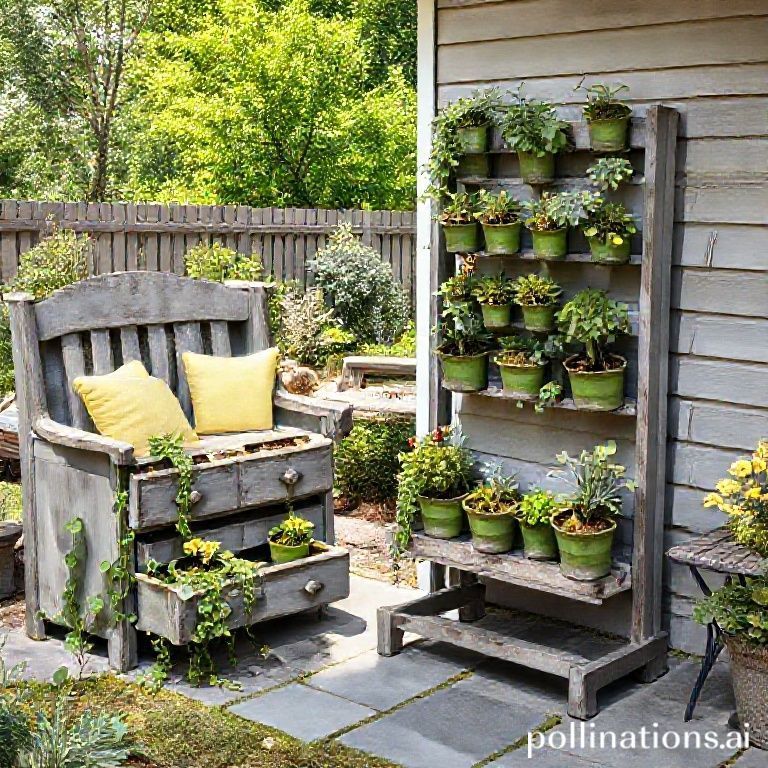
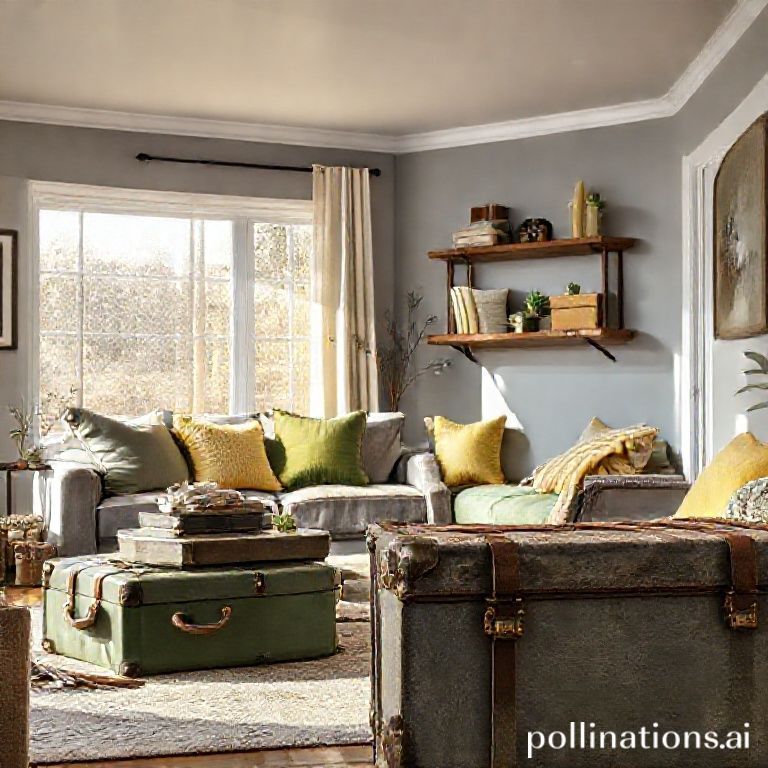
Upcycling, often referred to as creative reuse, involves transforming waste materials or unwanted products into more functional and artistic items. The appeal of upcycling thrifted frames lies in several key factors: the opportunity for personalized home decor, the environmental benefit of reducing waste, and cost savings associated with DIY projects. As design experts suggest, handcrafting your own wall art not only fosters creativity but also results in a home environment that reflects your individual style, especially in popular aesthetics like Bohemian and Rustic decor.
The Eco-Friendly Choice
Choosing to upcycle thrifted frames supports sustainable homes by minimizing the demand for new materials and promoting the idea of reusing what already exists. Each frame tells a story, making them perfect backdrops for your creative vision. Instead of throwing away unwanted frames or buying new ones, repurposing them reduces waste and lessens your carbon footprint. This practice resonates well with eco-conscious consumers, particularly students and singles, who are often on tight budgets but desire to create spaces that feel like home.
Materials You’ll Need
- Thrifted picture frames in various sizes and styles
- Eco-friendly paints or stains
- Fabric remnants, wallpaper, or scrapbook paper
- Hot glue gun and glue sticks
- Scissors and craft knife
- Brushes and sponges for application
- Picture hangers or adhesive strips
Step-by-Step Instructions for Upcycling Frames
With the right materials in hand, it’s time to delve into the upcycling process. The following sections will guide you through some creative techniques to transform your thrifted frames into stunning wall art pieces.
1. Painting and Distressing
One of the simplest yet impactful ways to refresh an old frame is by painting it. Choose a color that aligns with earthy tones or neutral shades to match your overall decor. For a rustic look:
- Start by cleaning the frame to remove any dust or grime.
- Apply a coat of eco-friendly paint using a brush or sponge. You might choose to leave certain areas unpainted for a distressed effect.
- Once dry, lightly sand the edges to create a weathered appearance. This step enhances the rustic charm of your frame.
2. Fabric-Lined Frames
For a cozy Bohemian vibe, consider lining the frame with fabric. This technique adds texture and warmth to your wall art. Here’s how:
- Measure the interior of the frame and cut a piece of fabric, wallpaper, or decorative paper to size.
- Using a hot glue gun, adhere the fabric to the inside edges of the frame. Ensure it’s taut but not overly stretched.
- Trim any excess fabric for a neat finish and hang your new art piece.
3. Collage Creations
Creating a collage within your frame allows you to showcase memories or themes that resonate with you. Follow these steps:
- Gather various prints, photos, or images that inspire you, focusing on a cohesive color palette or theme.
- Arrange them on the frame’s backing to find the best visual appeal before adhering them down.
- Secure your collage with glue, ensuring each piece is flat and positioned as desired. Optionally, consider additional embellishments like dried flowers or lace.
Pro Tips for Successful Upcycling
- Start small: If you’re new to DIY projects, begin with one frame to test your creativity before scaling up.
- Incorporate natural elements, such as twine or dried botanicals, into your designs for added texture and organic appeal.
- Don’t be afraid to experiment: Mix various techniques, such as painting and fabric use, to create multi-dimensional wall art.
Common Mistakes to Avoid
While upcycling can be a rewarding experience, here are some pitfalls to steer clear of:
- Rushing the process: Allow adequate drying time between steps, especially when painting or gluing.
- Ignoring color compatibility: Ensure chosen colors align with your existing decor to avoid clashing aesthetics.
- Neglecting to measure: Always measure your fabric or paper against the frame to prevent cutting incorrectly.
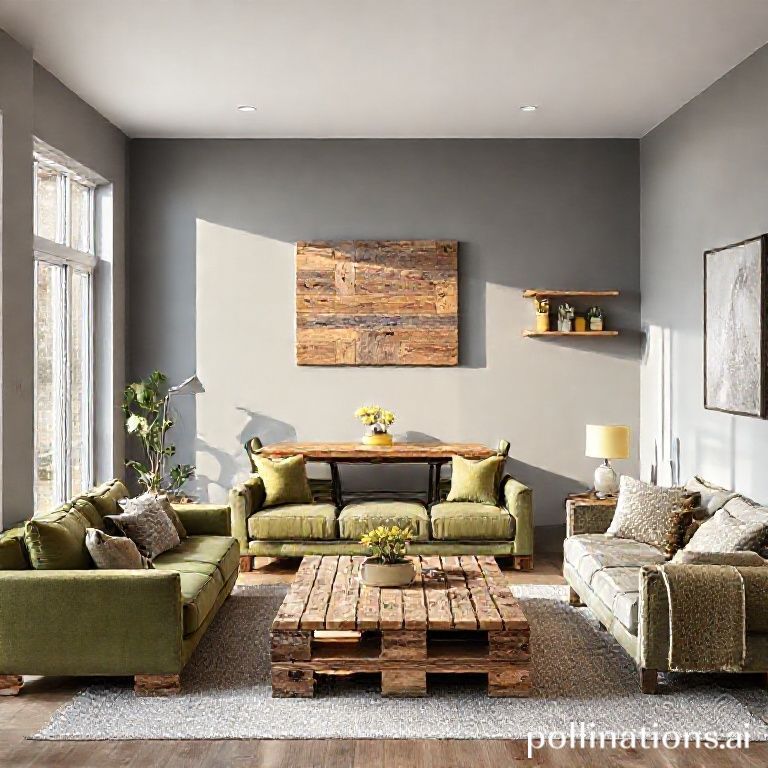
Embracing the Aesthetic
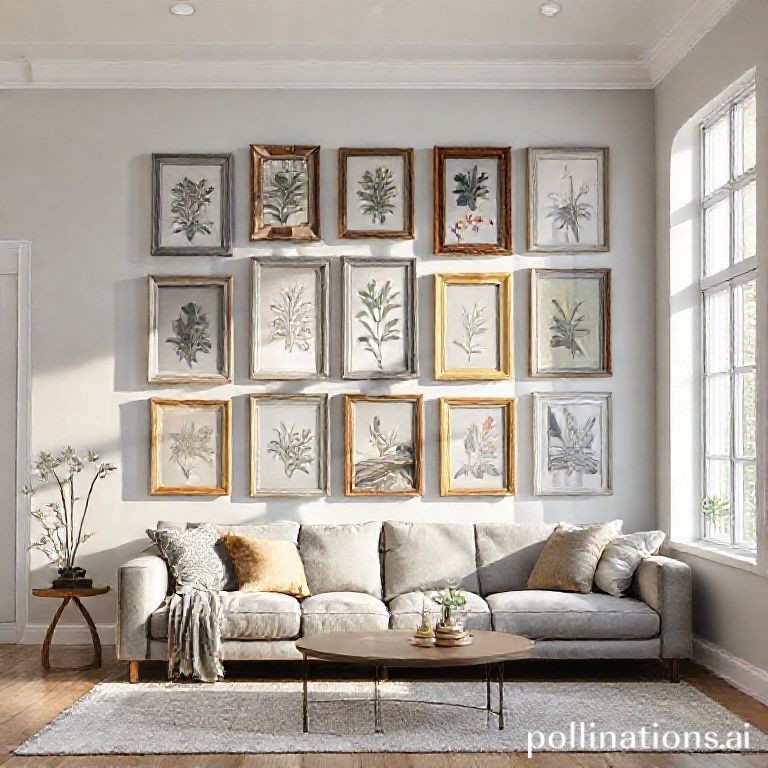
Bohemian and Rustic styles offer vast opportunities to creatively express your individuality through upcycled pieces. The warm, neutral tones characteristic of these styles can seamlessly integrate your newly crafted wall art into your living space while enhancing the overall design theme. Use your art to create an engaging gallery wall that tells your personal story, fosters conversation, and showcases your DIY triumphs.
Customer Insights and Closing Remarks
Many homeowners, particularly students and singles, are turning toward DIY and upcycling as not only sustainable options but also as avenues to develop unique home decor. They appreciate the personal touch these projects provide and the sense of accomplishment that comes from creating something from scratch. By investing a bit of time, anyone can achieve stunning results fueled by creativity and resourcefulness.
As you embark on your upcycling journey, remember that the most important aspect is to enjoy the process. Let your creativity flow and don’t shy away from exploring various techniques and styles. For further inspiration and guidance on home styling and DIY projects, explore our blog’s DIY Decor category and discover the transformative potential of upcycling in your living space.